Table of Contents
Introduction
The Raspberry Pi is taking the world by storm at the moment, their cheap prices but high performance are making them ideal for many applications, from simple webservers to home automation powerhouses.
Although relatively weak on their own in comparison to an actual desktop pc, you can easily increase the power by creating a cluster. Clustering allows for increases in task performance as the machine then works with others to get the task completed.
In this tutorial, we will set up a Kubernetes cluster on an Ubuntu server and utilize the optimized microk8s platform to get our system up and running smoothly.
Equipment – Required
- At least two Raspberry Pi (it is preferable one has at least 4GB of ram but in my case, I used two 2GB models)
- An internet connection
- A nearby computer connected to the network
- The IP address of your router
- At least 2 micro-SD cards (One card per device you are connecting)
- USB type C cable/cables (One for each device)
- USB Charging socket (Aim for a supply capable of providing 15 Watts per Raspberry Pi)
Equipment – Optional
I am choosing to run my device headless, if you are not please see the below list for additional equipment you may need.
- A HDMI monitor
- A micro-HDMI to HDMI cable (Pi 4 only, Pi 2/3 use regular HDMI)
- A keyboard
Some additional optional equipment for either performance or aesthetics
- Ethernet cable (For increase networking speed although you can use Wi-Fi)
- A 5-port switch (Reduces the trailing of cables and for connecting the devices)
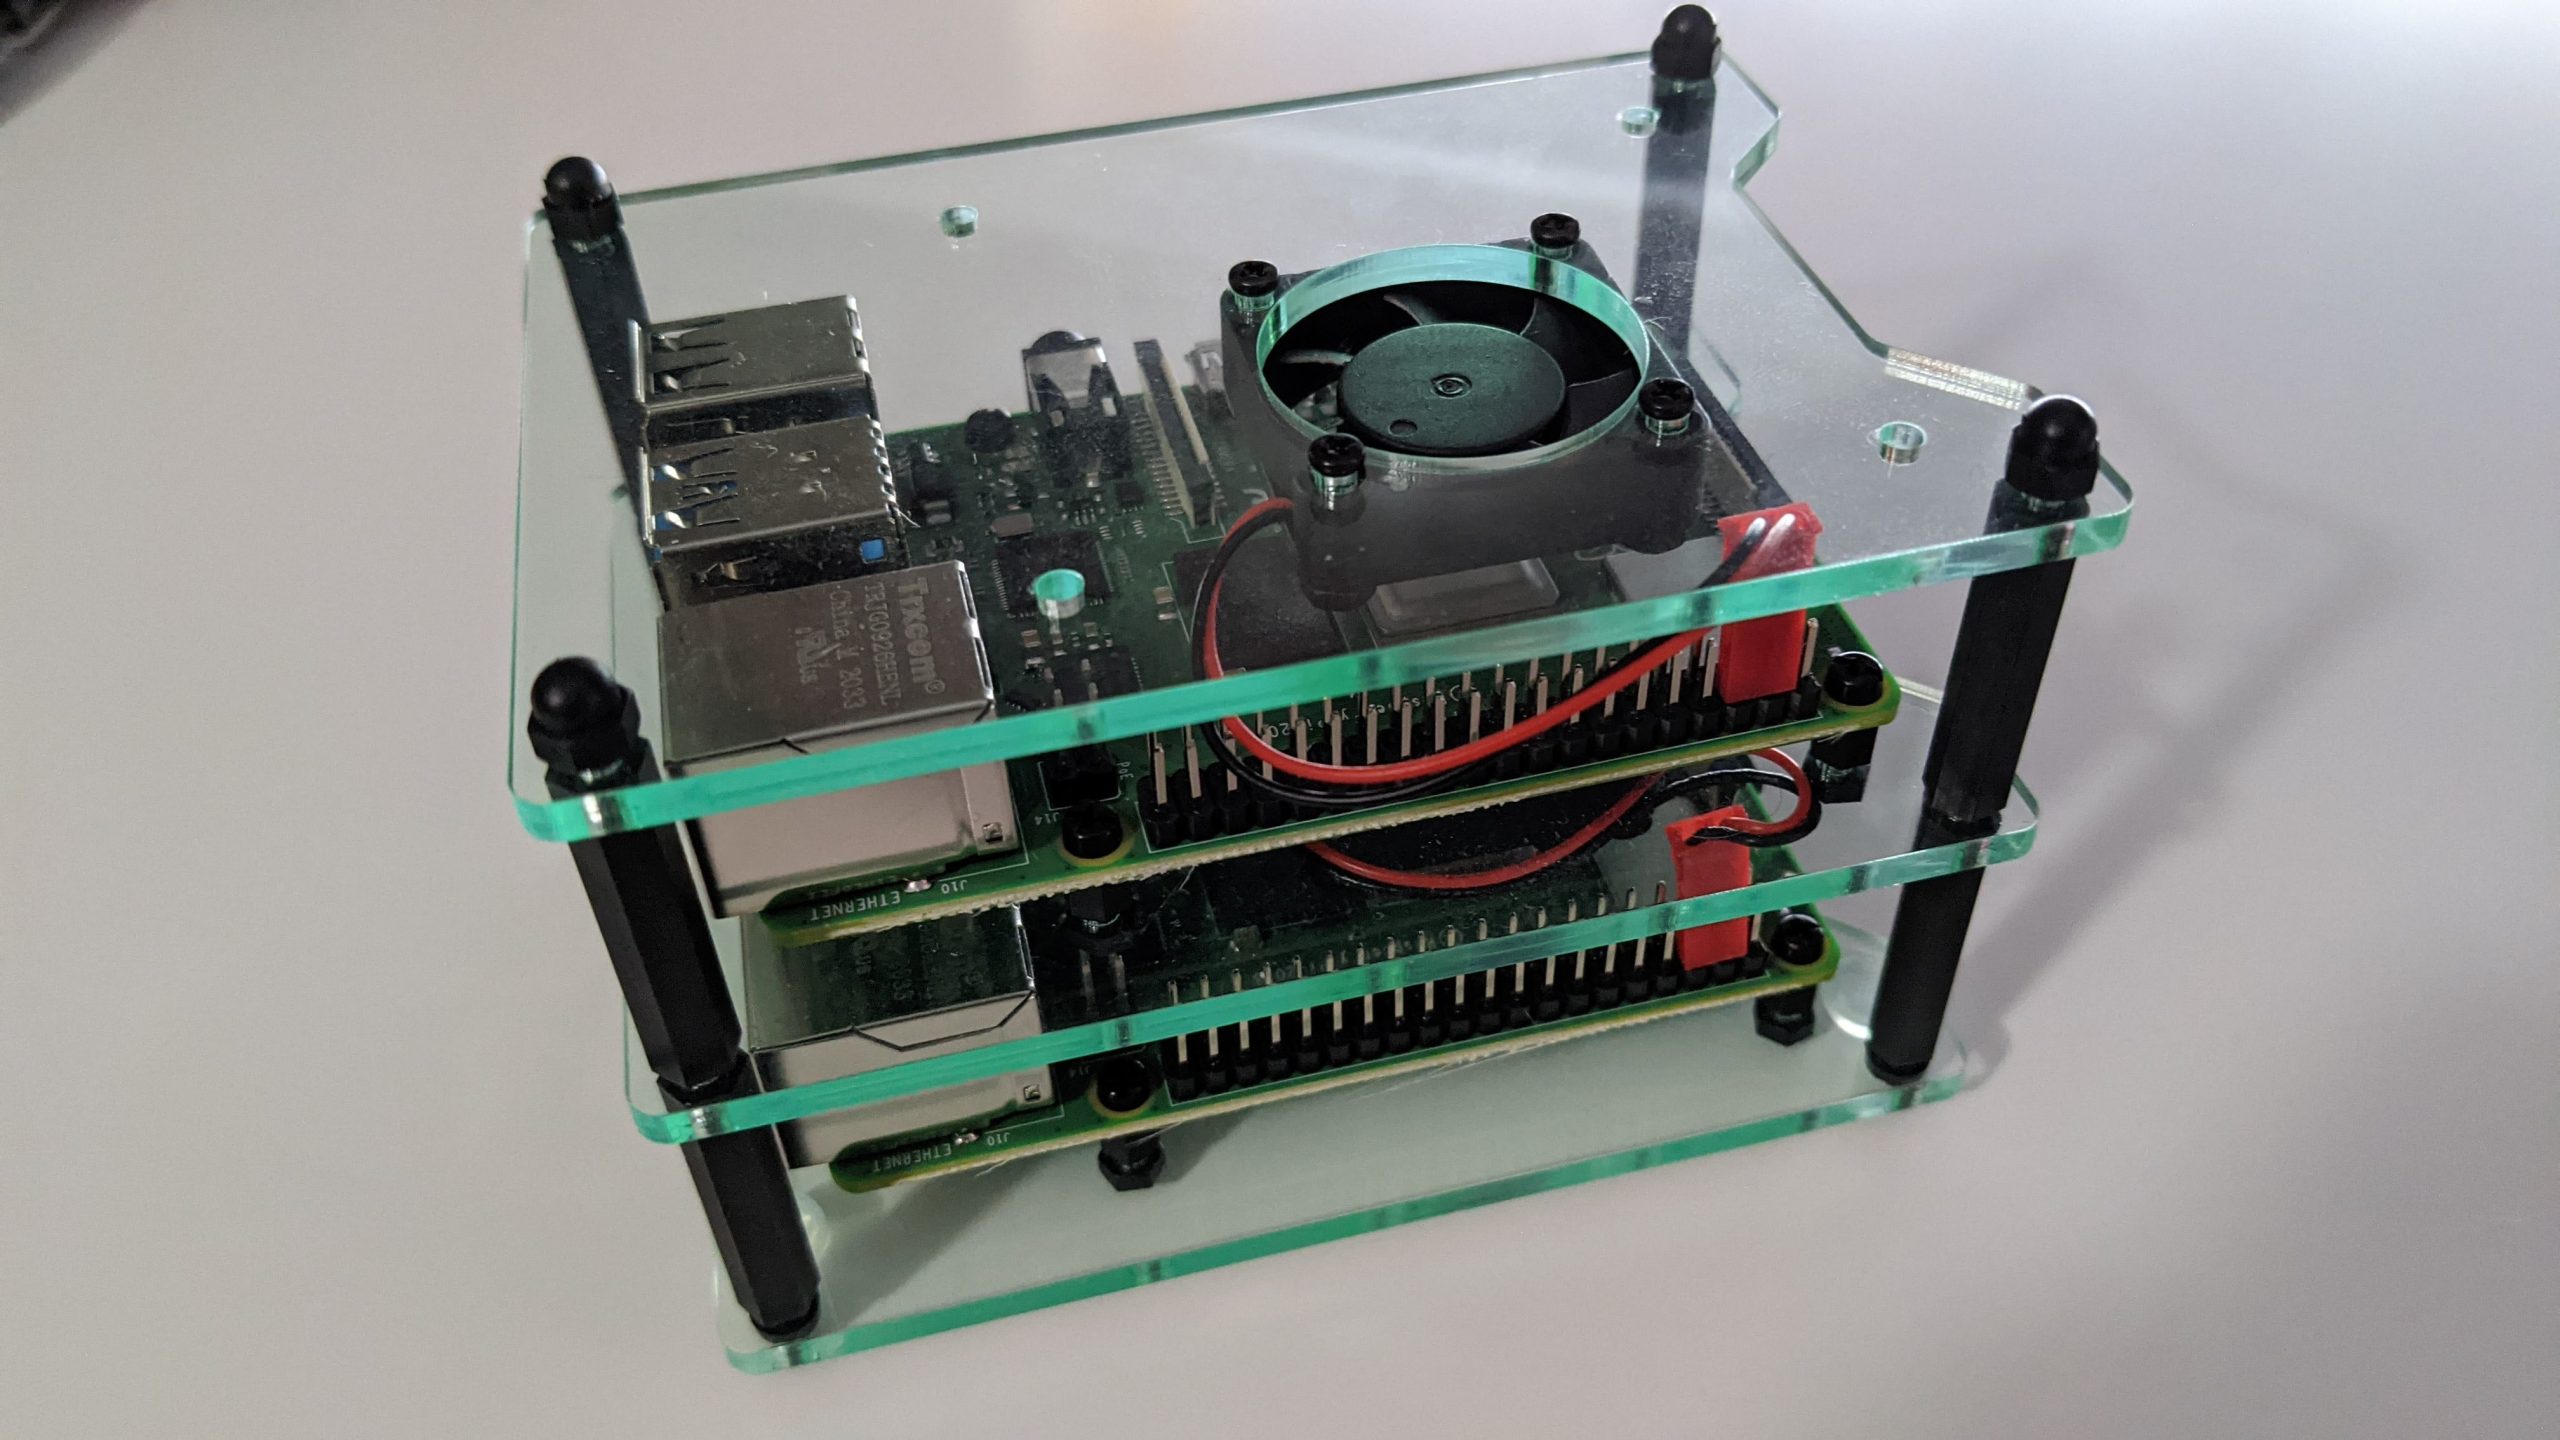
- A cluster case to hold the Pis

Making the cluster
Now with all your equipment, you can begin to assemble. If you did happen to buy a cluster case feel free to put your Pi’s inside, make sure not to lose any of the small parts.
The next step is to now download the ubuntu server image we will be using. You can find the iso at the link here. Please make sure to use the 64bit as it allows it to work with microk8s. Once it has been downloaded place your micro-SD cards into your computer and using Pi Imager flash the cards with the downloaded ubuntu image.
With both cards now flashed we are ready to place them into our devices. Connect your cables to the devices and you should see them both power up nicely.
Setting up the Raspberry Pi
These steps need to be done on both of your devices, so you can either repeat the steps are complete them on both devices at the same time. Giving the devices a few minutes for the first setup you should now be able to access them via ssh (if headless) or via keyboard and monitor.
Firstly, we need to find the new IP addresses of the two devices. We can do this easily by going to our router’s page via its IP address and browsing the client list. With the addresses now discovered, on your current device open an ssh client such as Putty and log in with the username and password of ubuntu (If this does not work straight away try again in a few minutes once the devices have finished setting up)
Now log into your devices we must now prepare the system for running microk8s. The first step is to enable c-groups.
This is done by modifying the file /boot/firmware/cmdline.txt using the command below
sudo nano /boot/firmware/cmdline.txt
Then go to the end of the current line and add the following.
cgroup_enable=memory cgroup_memory=1
Now saving and writing the file, we can move on to the next step.
With c-groups now enabled we need it to be running, for this to occur we just need to simply restart the device using:
sudo reboot
With the devices rebooted we can finally install microk8s onto them
sudo snap install microk8s –classic
This will automatically get the latest version of microk8s, if you need a particular version you can append –channel= to get that instead. For more documentation on this, see here For example:
sudo snap install microk8s –classic --channel= 1.19/edge
With microk8s installed we are ready for setting up the cluster’s master and leaf nodes. I strongly recommend using the device with more ram as the master in the cluster, if they are both identical then you can choose either.
Creating the cluster
On the device, you chose as the master node, type the following command.
sudo microk8s.add-nodeThis will in turn generate a result that will allow you to connect the devices together, it should be similar to ip-address:port-number/token.
Now on your leaf node type microk8s.join and then the returned result
microk8s.join ip-address:port-number/token
Give the devices some time to establish the connection and soon enough type on the master the command of:
microk8s.kubectl get node
Should get all the nodes you have added to the master.
Should you wish to, you can also remove nodes using the expected command of:
microk8s remove-node “Name of Node”My final tip to aid you in your use of microk8s is to set up a quick alias for kubectl, this will not affect anything but will make commands from here quicker for you.
sudo snap alias microk8s.kubectl kubectlDisclaimer:
This tutorial is based on my experience of setting up, installing, and creating a microk8s cluster. All information provided was correct at the time of writing. In the event of changes, I will attempt to keep the tutorial updated. Please contact me here at [email protected] with the subject “Kubernetes cluster tutorial” if you find any errors or updates that need to be made.