Composer is a command-line tool used to manage and download PHP dependencies and tools, today we will be installing it on Windows.
Installing Composer
First, we must download the latest Composer File, we can get this at the official website here.
We want to be clicking on the Composer-Setup.exe link, this will download the Setup executable and will ensure we have the latest file.

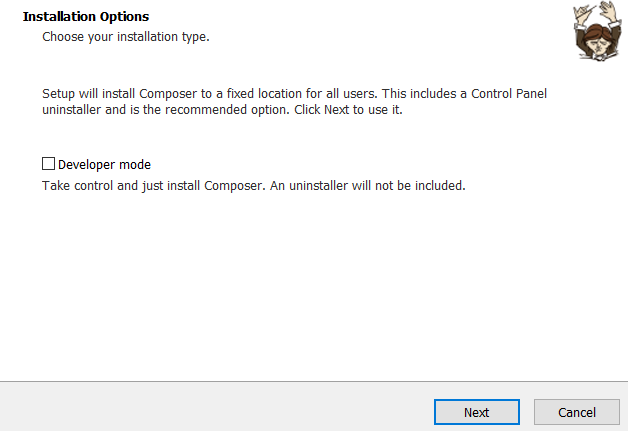
Once the file has been downloaded and you click run you can follow these steps.
- Click install for All users, then click next.
- Leave developer mode unchecked, we do not want this as it is not the recommend option.
- Select the version of PHP you have installed, if you do not have PHP installed then you will need to install it from here.
- Composer will then quickly check your PHP before showing you a Proxy setting, leave this blank and click next.
- Finally you will be shown an overview, if everything is as we selected click install.
Verifying the installation
To validate that it was installed correctly go to a command prompt and type the following to see your version.
composer --versionYou should see something similar to the following.

Uninstalling
To uninstall we recommend navigating to Control Panel -> Programs -> Uninstall a program.
And then selecting Composer and clicking uninstall. This will ensure all of the files are correctly uninstalled from your computer.
Uninstalling can be helpful if it starts playing up or you want to reset it back to factory defaults, and with that, we conclude our tutorial, we hope it was helpful and Composer serves you well in your future projects.