
If you want to convince your boss that you are working late or at night or active extremely early in the morning you might want to learn how to schedule your emails in Outlook.
Outlook is a powerful tool if mastered, today we are looking at email schedules and delays, this will allow you to write, send an email and have it arrive at its destination at a time or at your choosing.
Scheduling a single email
Setting this up is actually very easy, simply begin composing your email as normal and once finished instead of sending go to your ribbon and click on the small arrow in the tags section.

From here you should then see the following menu.
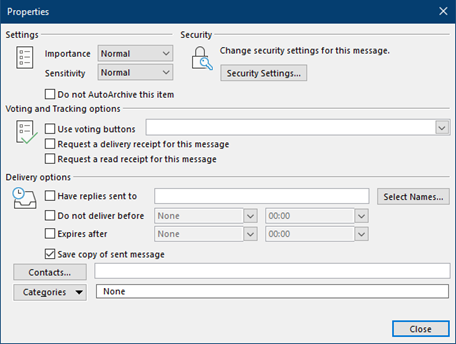
Now click the box Do not deliver before and select the date and time for the email to be sent.
Cancelling or changing a scheduled email
If you suddenly need to change the email and it has not been sent yet, then you are in luck.
Go to your Outbox and select the email you sent.
Now if you simply want to delete the email, you can go ahead and delete it. To change the email, open it up and append your changes. To change its delivery schedule, follow the steps above on setting the time and update the content box with your new desired delivery date.
Delaying all emails
If you wish to delay all the emails you send by up to 2 hours you can apply this very quickly.
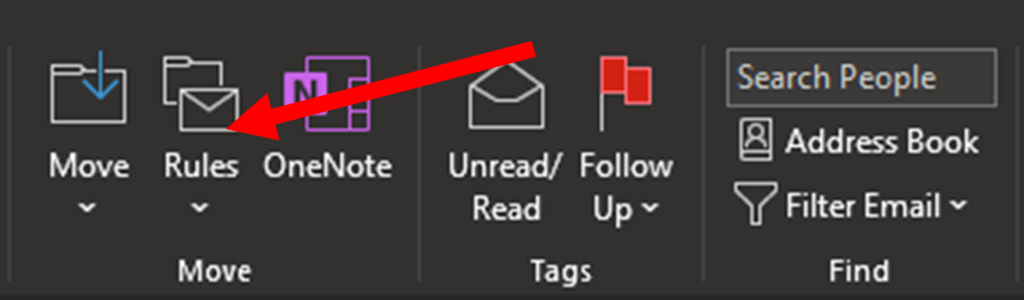
Start by clicking Rules and then Manage Rules and Alerts

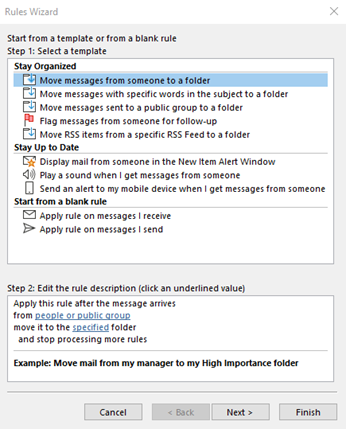
From here next, select the email account you want to put the delay onto and then press New Rule.
Select Apply rules on messages I send and press next.
If you want to you can configure conditions to trigger this rule, if not click Next.
The last step is to defer delivery by a number of minutes, tick the box and click on the blue “a number of text” and input the amount of time you want to delay messages by.
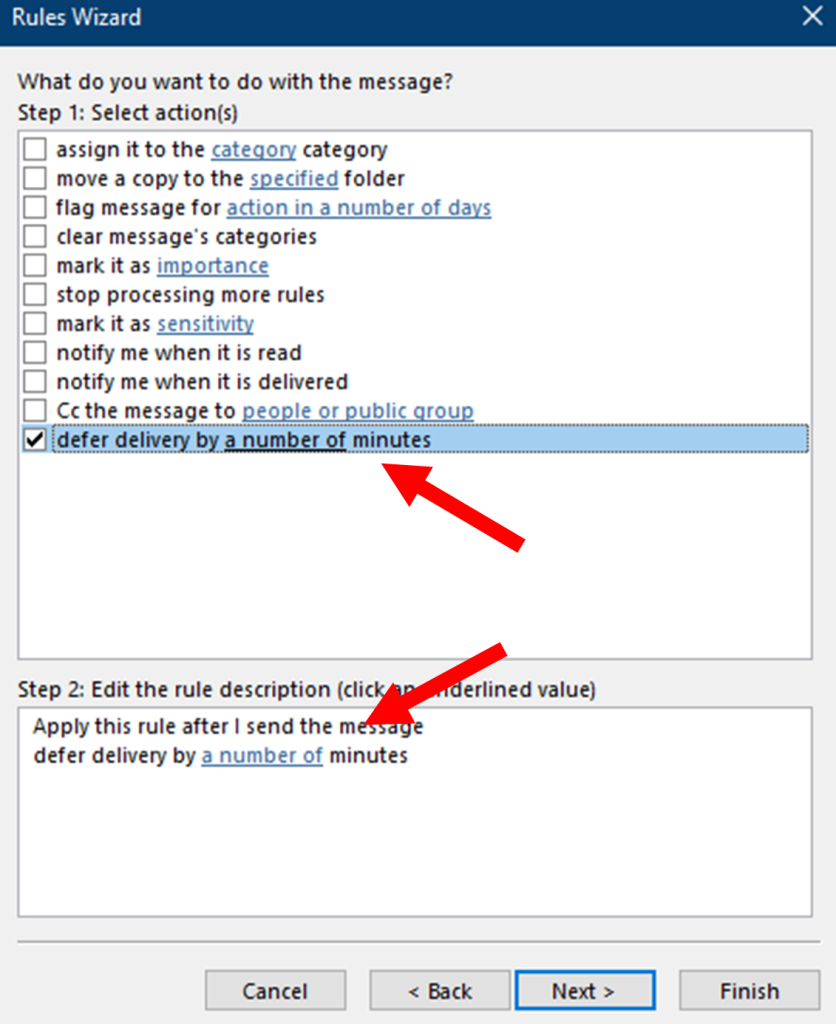
If you do not want any more conditions, click finish.
Remember to cancel this delay, you can return to Manage rules and alerts and disable it from there.